
Registering an International Trip For Cornell Travelers
Cornell's International Travel Registry is required for all Cornell-related travel. This page provides a guide to navigating the registration process, including logging in, completing your traveler profile, and submitting your trip.
Logging In
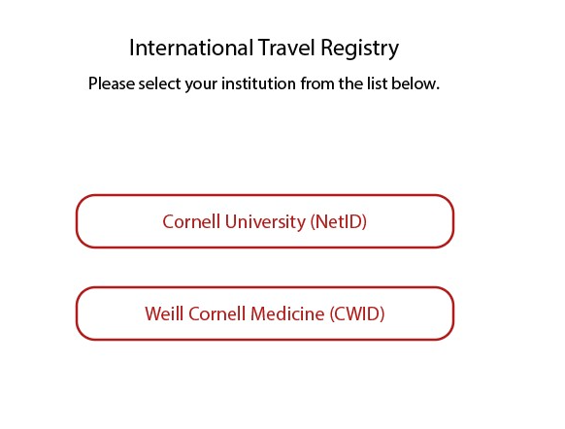
Select the appropriate login button for your affiliation. Be sure to use your Cornell credentials (alias names or personal emails should not be used).
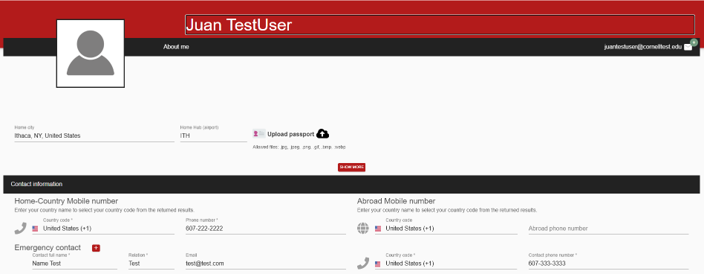
Completing Your Profile
You will land on your profile page the first time you log in. This is a one-time setup, although you can update your information later as needed.
Required Information:
- Contact information
- Emergency contact(s) - You may add multiple contacts
Optional Information:
- Passport upload
- Profile photo
- Home City/Hub location
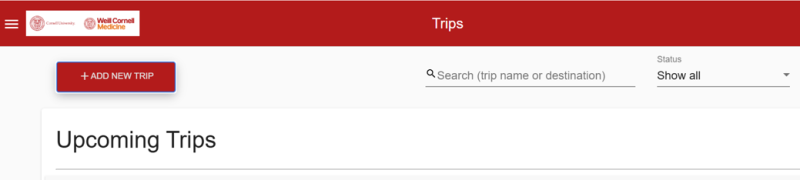
Registering a Trip: Start with Your Itinerary
Step One: Trip Details Summary Page
Start by clicking the “Add New Trip” button on the My Trips page.
Next, a “Create New Trip” screen will pop up. On this page, you will need to give your trip a title. There is an option to add a description, which we encourage.
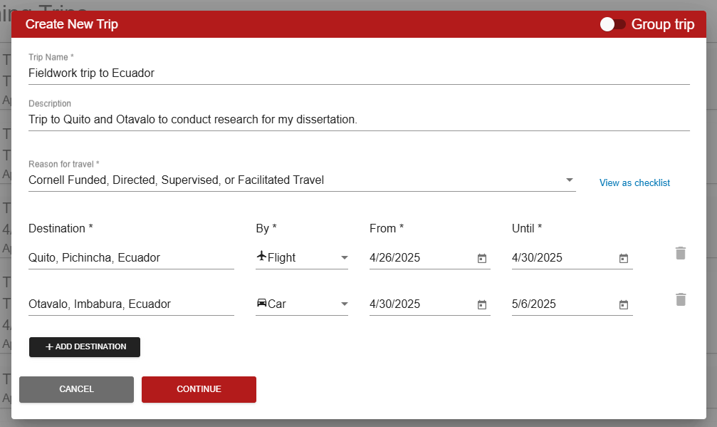
Next, build your itinerary using the “Destination” field, the “By” dropdown menu (for mode of transportation), and the calendar widgets to set the trip dates. Additional destinations can be added by clicking the “Add Destination” button. (Note: the destination town or city must be selected first.)

- On the details page, some information will have already been entered automatically. For example, the system will pre-fill the default departure airport for the first leg if Home City/Hub is active in your profile.
- Each leg has an icon to show the type of travel.
- The travel leg can be deleted using the garbage icon on the far right.
- Clicking the transportation icon for each leg will display a dropdown menu that can be used to change the means of transportation. For example, if a traveler realizes that the last leg will be by car instead of flying, they can change this detail by clicking the plane icon and selecting “Change to Car.”
- Additional transit legs and lodging details can be added by selecting the appropriate item from the “Add Transit/Lodging Type” drop-down.
- Additional destinations can be added using the “Add Destination” button in the bottom left.
- Any changes made on the details page must be saved using the “Save” button in the top right corner.
- Once saved, the trip will appear in your “Upcoming Trips” section, but it is not yet active.
- Upcoming trips can be edited (if permitted based on the itinerary), merged, or deleted by clicking the three dots to the right of the trip name.
- All trip requirements must be completed, as outlined in the next section.
⚠️ Your registration is NOT complete until the next steps are completed and the travelers receives a Trip Confirmation email.
Step Two: Completing Trip Requirements
Trip registration also requires you to complete forms or, in some cases, signature documents. Let's look at an example of a traveler going to Ecuador to see how they interact with the content items.
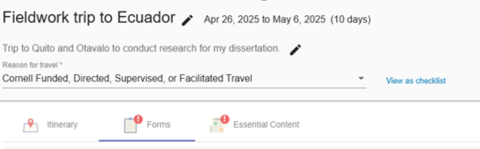
Access Forms
- Navigate to the Forms section to find all required questionnaires
- Review the full list of forms before beginning
Required Fields
- Look for red asterisks (*) at the end of questions that must be answered
- Watch for red exclamation marks (!) indicating incomplete required fields
- Ensure all mandatory fields are completed to proceed
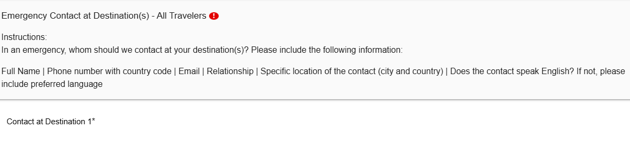
Form Instructions
- Read all instructions carefully before starting each form
- Follow the specific guidelines provided for answering questions
- Refer back to the instructions if unclear about the required information
Submission
- Double-check all responses before submitting
- Click "Save and Finish" at the bottom of the form
- Verify submission was successful
- If a “New required content” window pops up, new forms have been added based on your initial answers
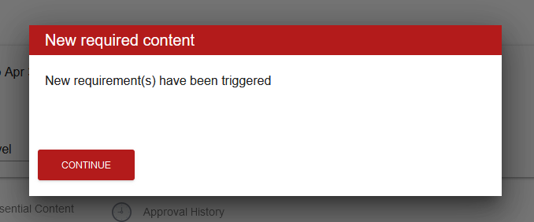
Completing Additional Forms
Initial Submission
- Save your first set of completed forms
- Additional questions will automatically appear based on your responses
- Click "Continue" to proceed to the new questions
Check for Completeness
- Look for any red exclamation marks in the Forms Tab
- These indicate sections requiring attention
- Review all newly generated questions carefully
Final Steps
- Return to the Forms Tab
- Complete all new required questions
- Review all responses for accuracy
- Click "Save and Finish" to submit final responses